Stake GNO token
To stake GNO, you'll need to:
- Purchase GNO on Ethereum.
- Bridge GNO to Gnosis.
- Connect your wallet at Ankr Staking.
- Stake GNO at Ankr.
Before you start
Ensure the following:
- You are using a Chrome Browser.
- You have a MetaMask wallet extension (opens in a new tab) installed and set up in Chrome.
Get GNO
Visit one of the recommended DEXs (opens in a new tab) and swap your assets for the desired amount of GNO tokens.
You'll need a small amount of xDai the gas fee while staking GNO.
Bridge GNO to Gnosis Chain
Your obtained GNO is likely to be the Ethereum Mainnet GNO version. To use it on Gnosis, you'll need to bridge it to Gnosis Chain.
- Use the OmniBridge (opens in a new tab) to move GNO from Ethereum to Gnosis Chain.
- Add Gnosis to your wallet, visiting Ankr Gnosis RPC page (opens in a new tab) and clicking Add network. Alternatively, use these manual instructions (opens in a new tab) from Gnosis.
You're ready to stake your GNO on Ankr Staking.
Connect your wallet
- Visit Ankr Staking Dashboard (opens in a new tab).
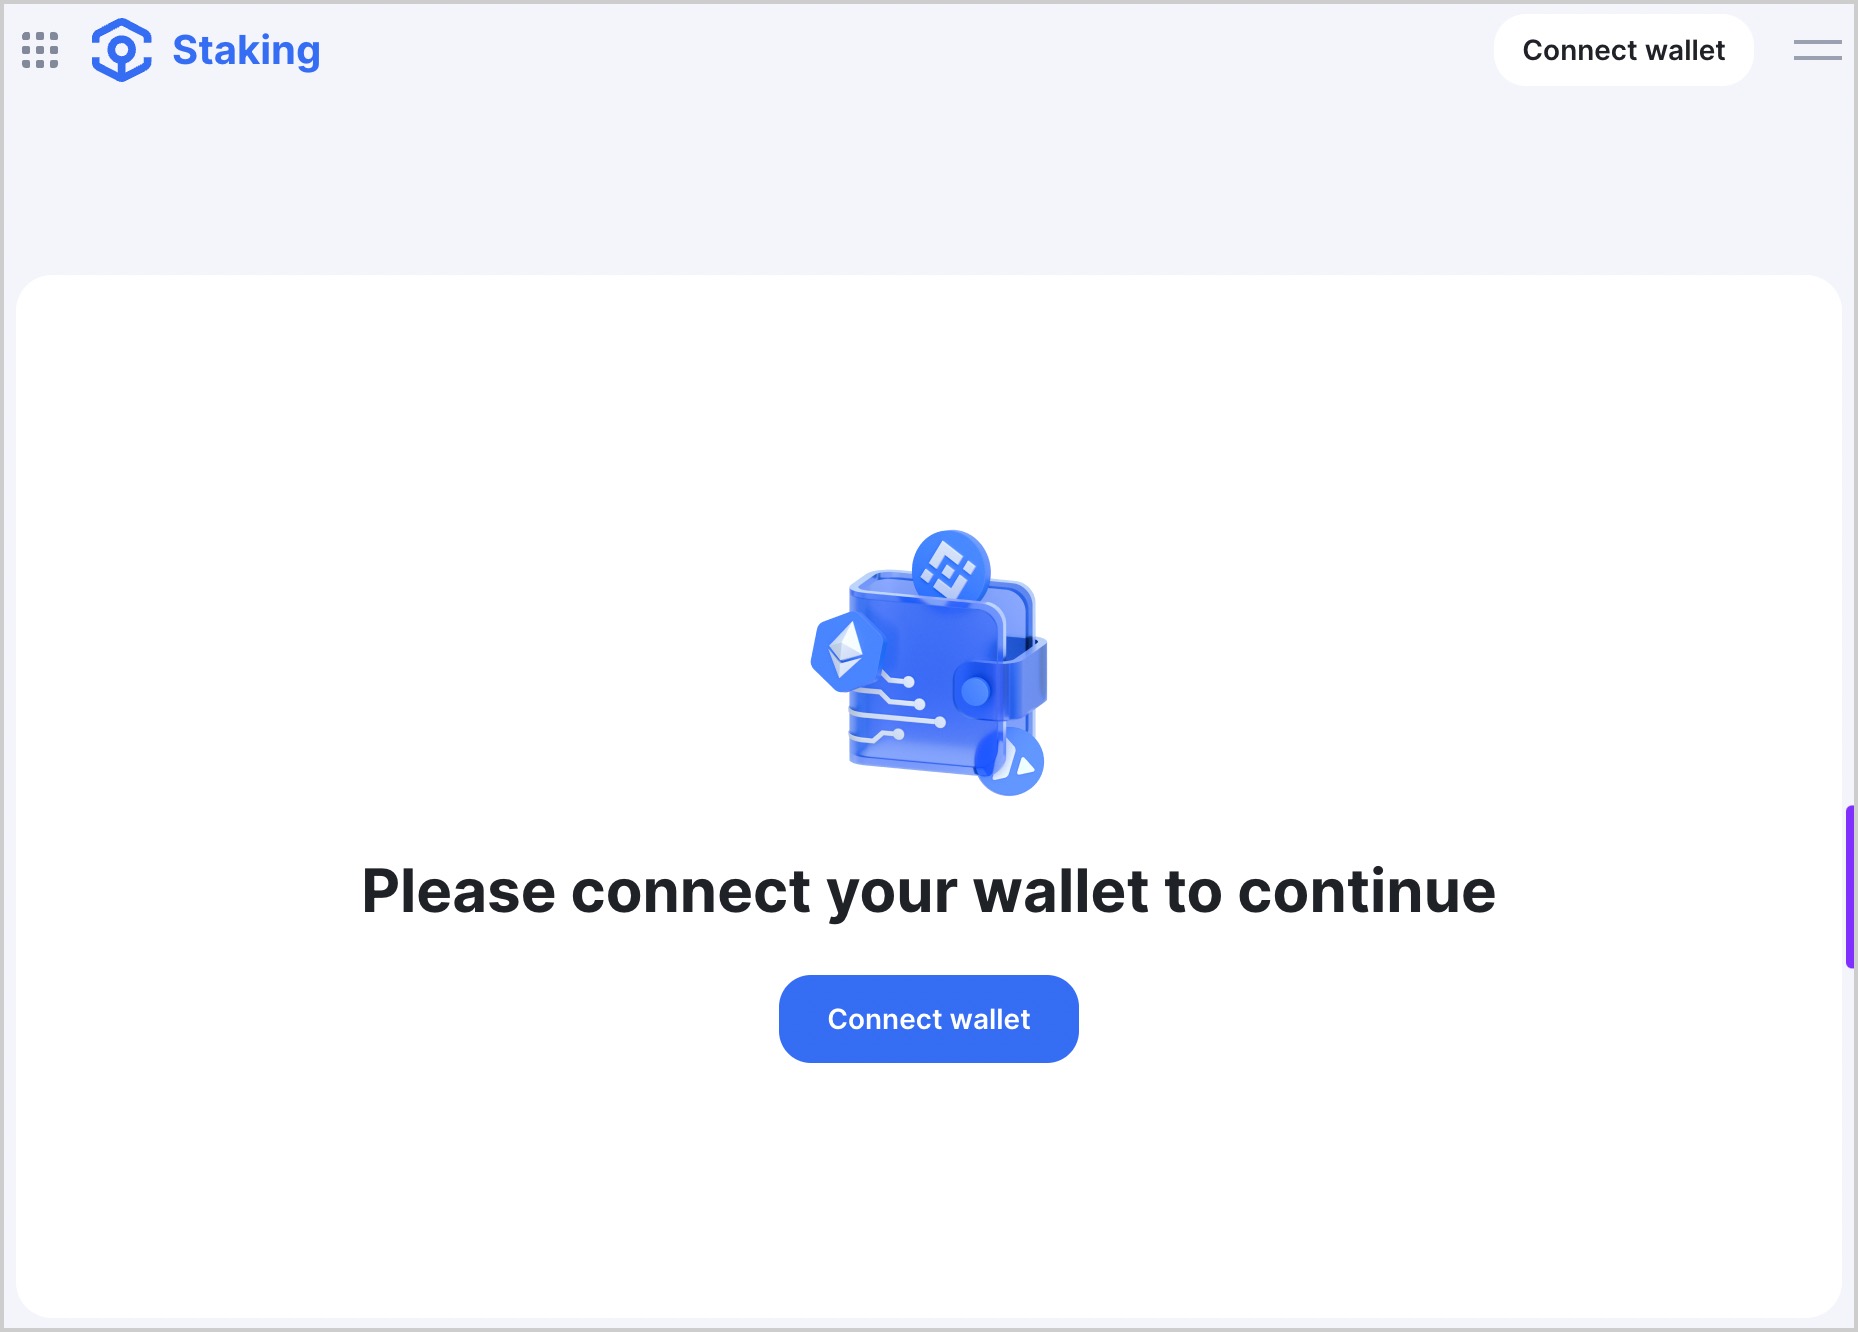
- Click Connect wallet in the top-right corner of the page.
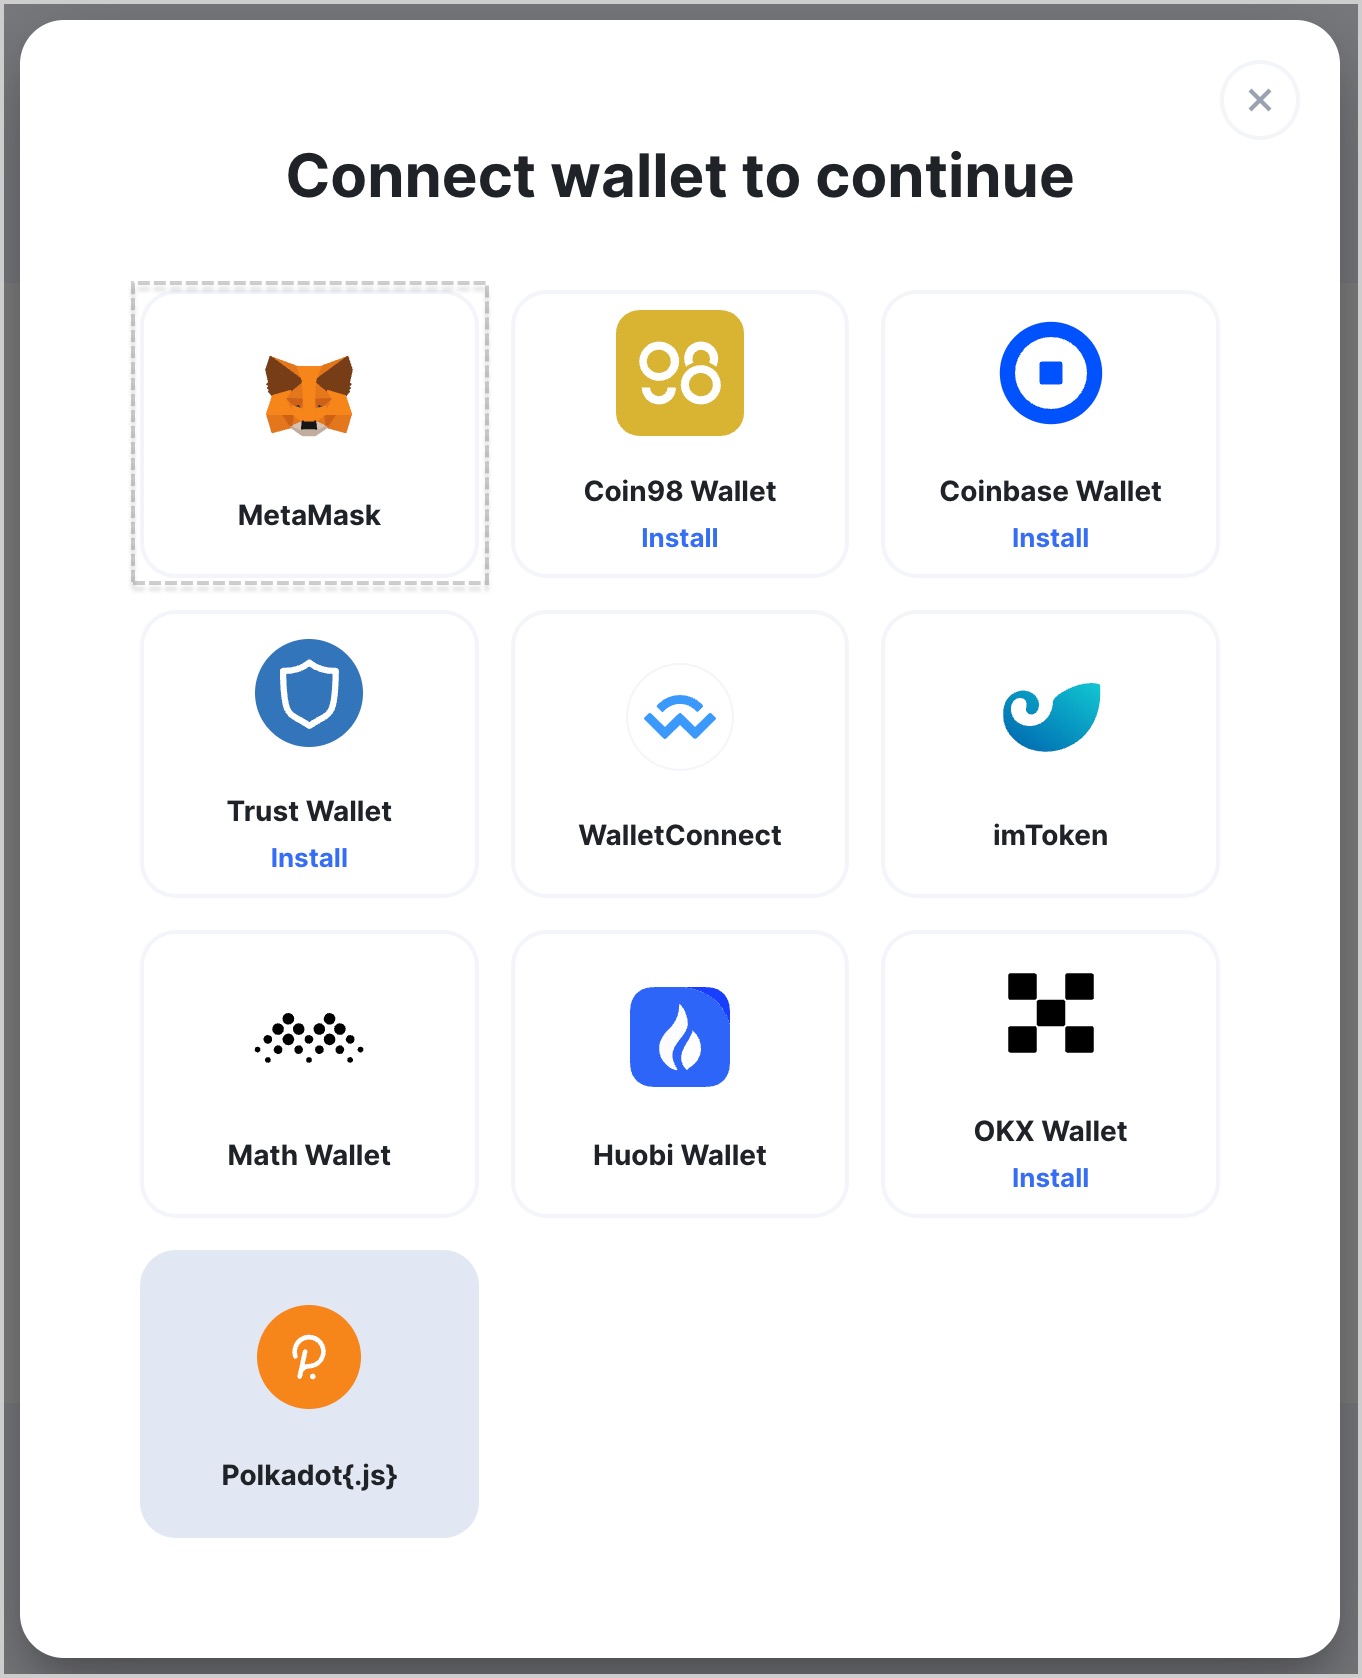
- Choose MetaMask.
- If you have multiple accounts in MetaMask, choose an account to connect and click Next.
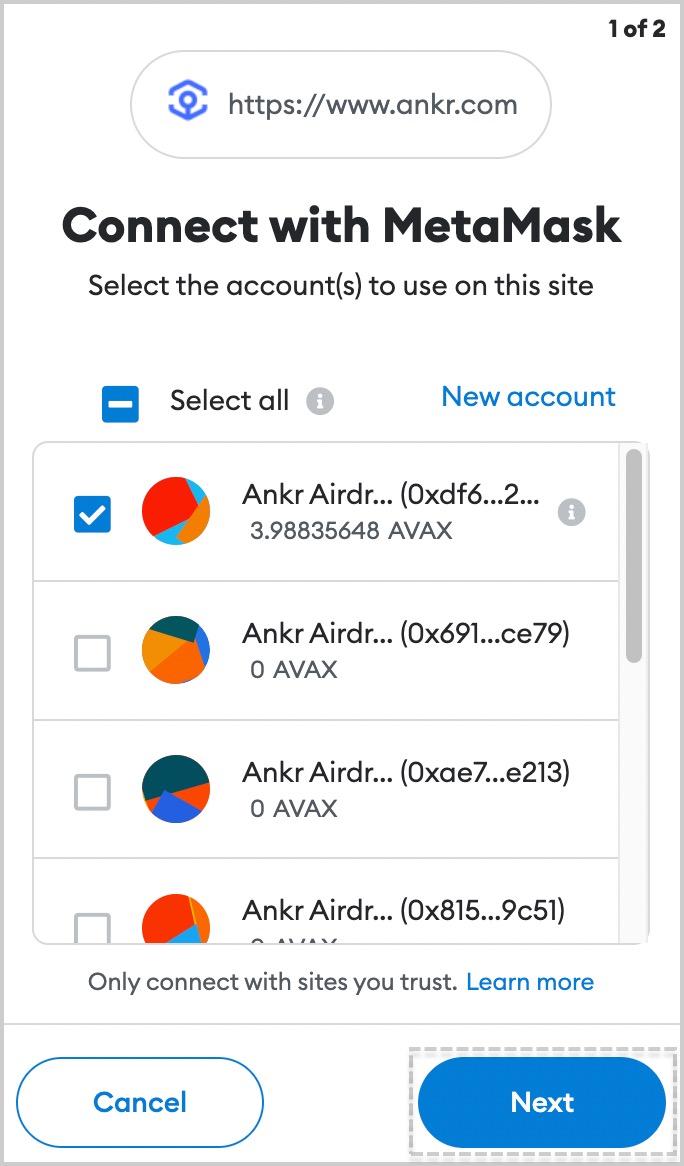
- Click Connect and wait for a couple of moments till the connecting process is finished.
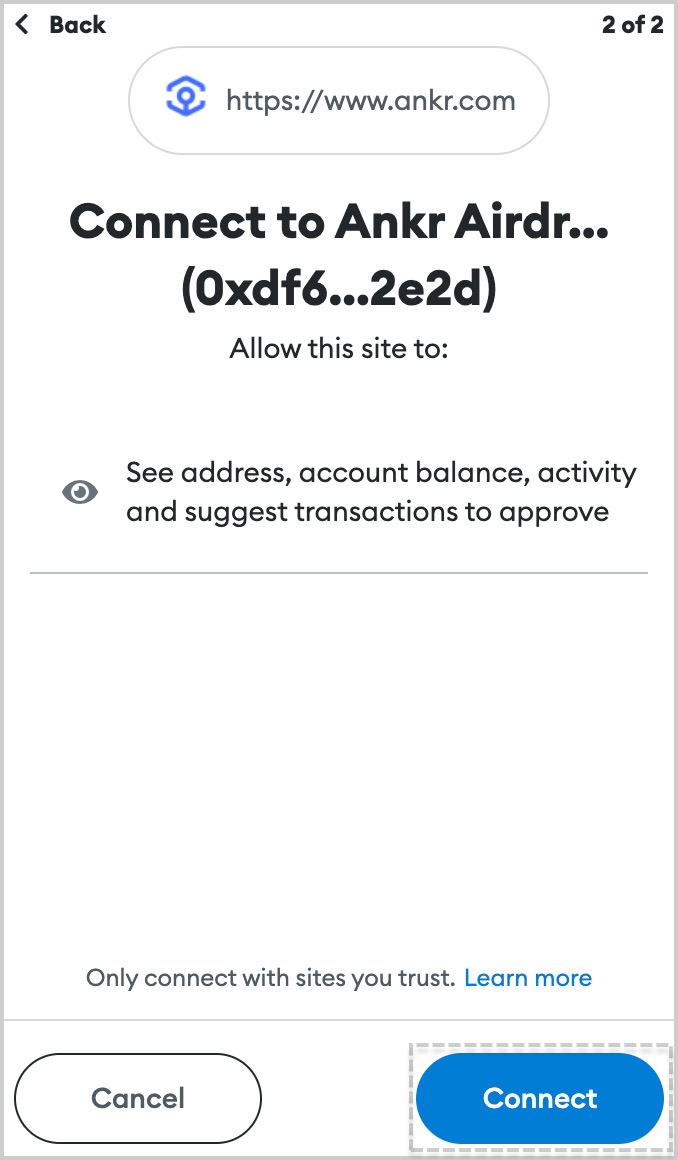
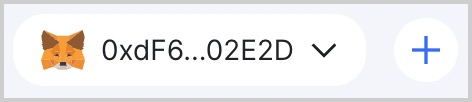
- Successful connection to Ankr Staking is indicated at top right corner by the address of wallet you connected.
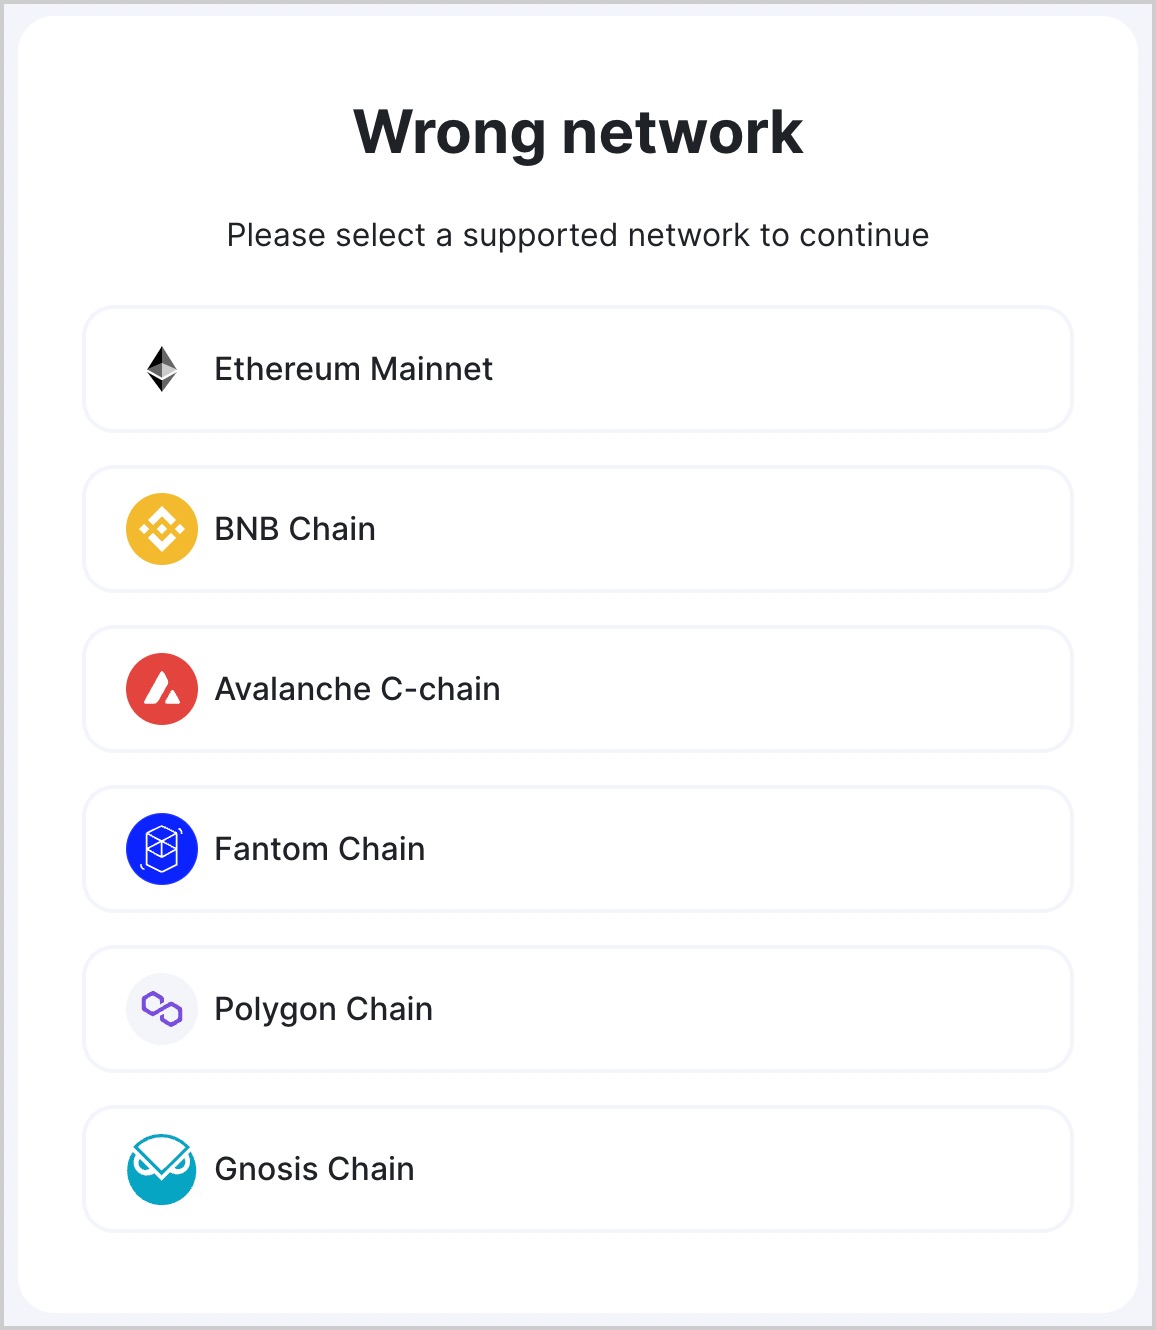
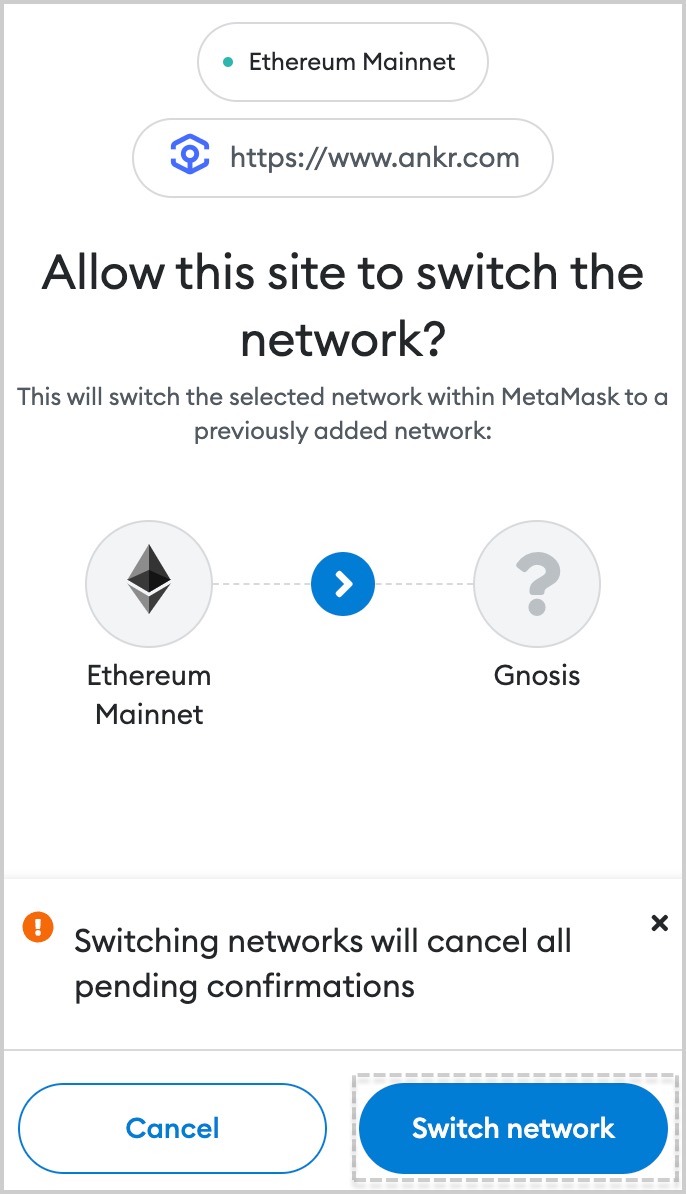
- If asked by Ankr Staking to switch networks, select a network of your choice.
- Click Switch network to confirm switching.
Stake GNO
We have made a separate testnet version of Gnosis Delegated Staking on Chiado (opens in a new tab)!
Anybody interested to test Liquid Staking without spending mainnet GNO, come and try it!
Your stake does not immediately gets staked on Gnosis.
Gnosis accepts stakes with minimum 1 GNO.
To bypass this and accept your stake if it's lower than 1 GNO, we created a micropool that accumulates user stakes.
Once it has 1 GNO, we stake it with Gnosis.
Make sure you have some xDai to pay the gas fee for your staking transaction.
- Visit Ankr Staking (opens in a new tab).
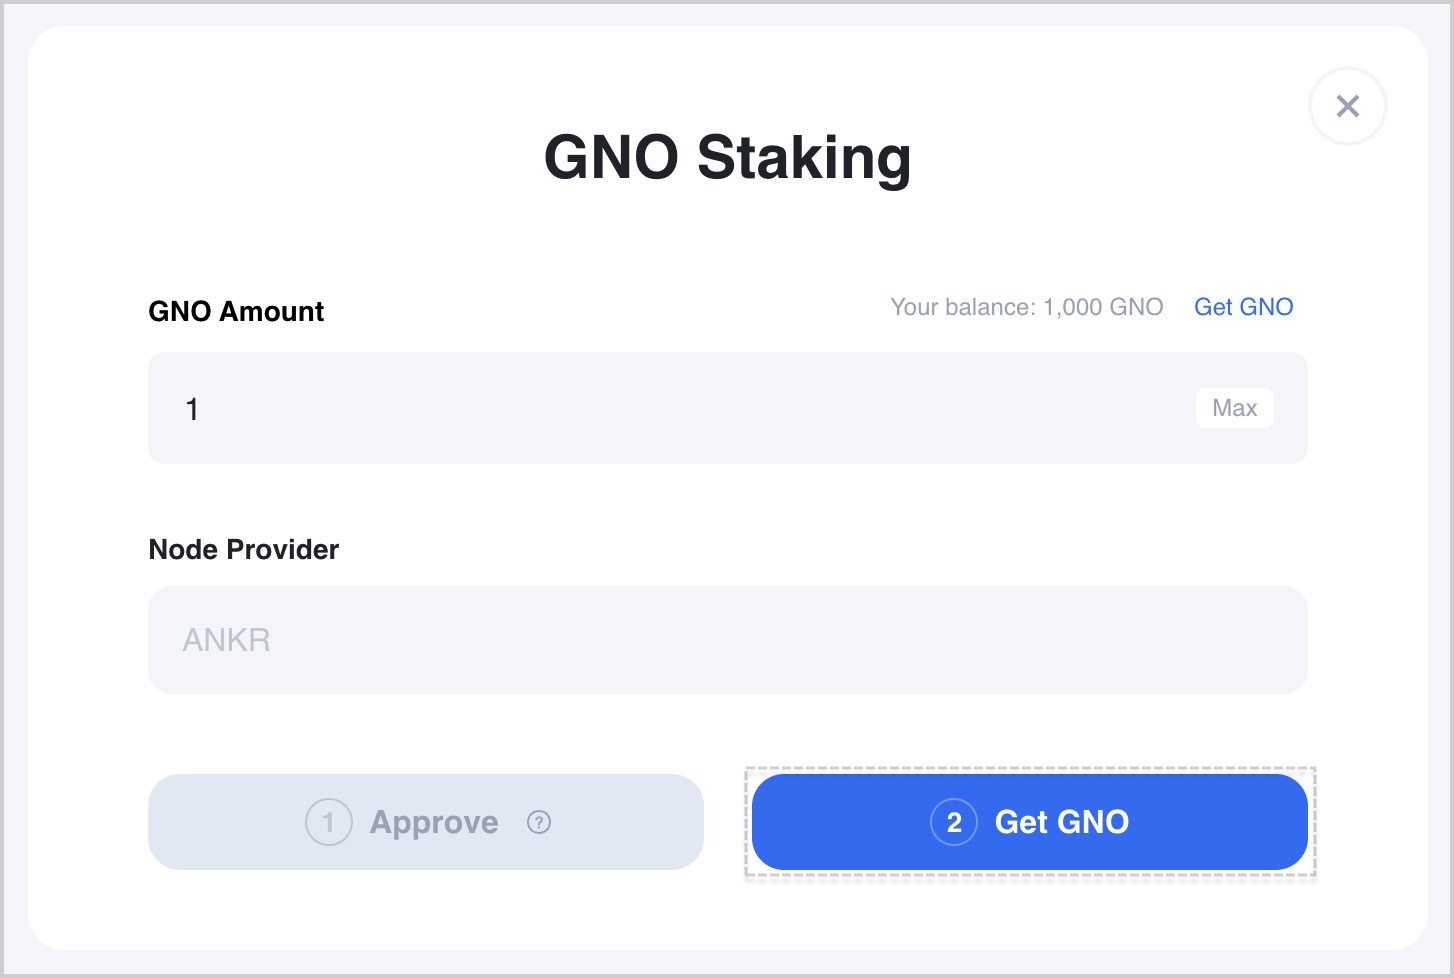
- In the Delegated staking section, click Stake under GNO.
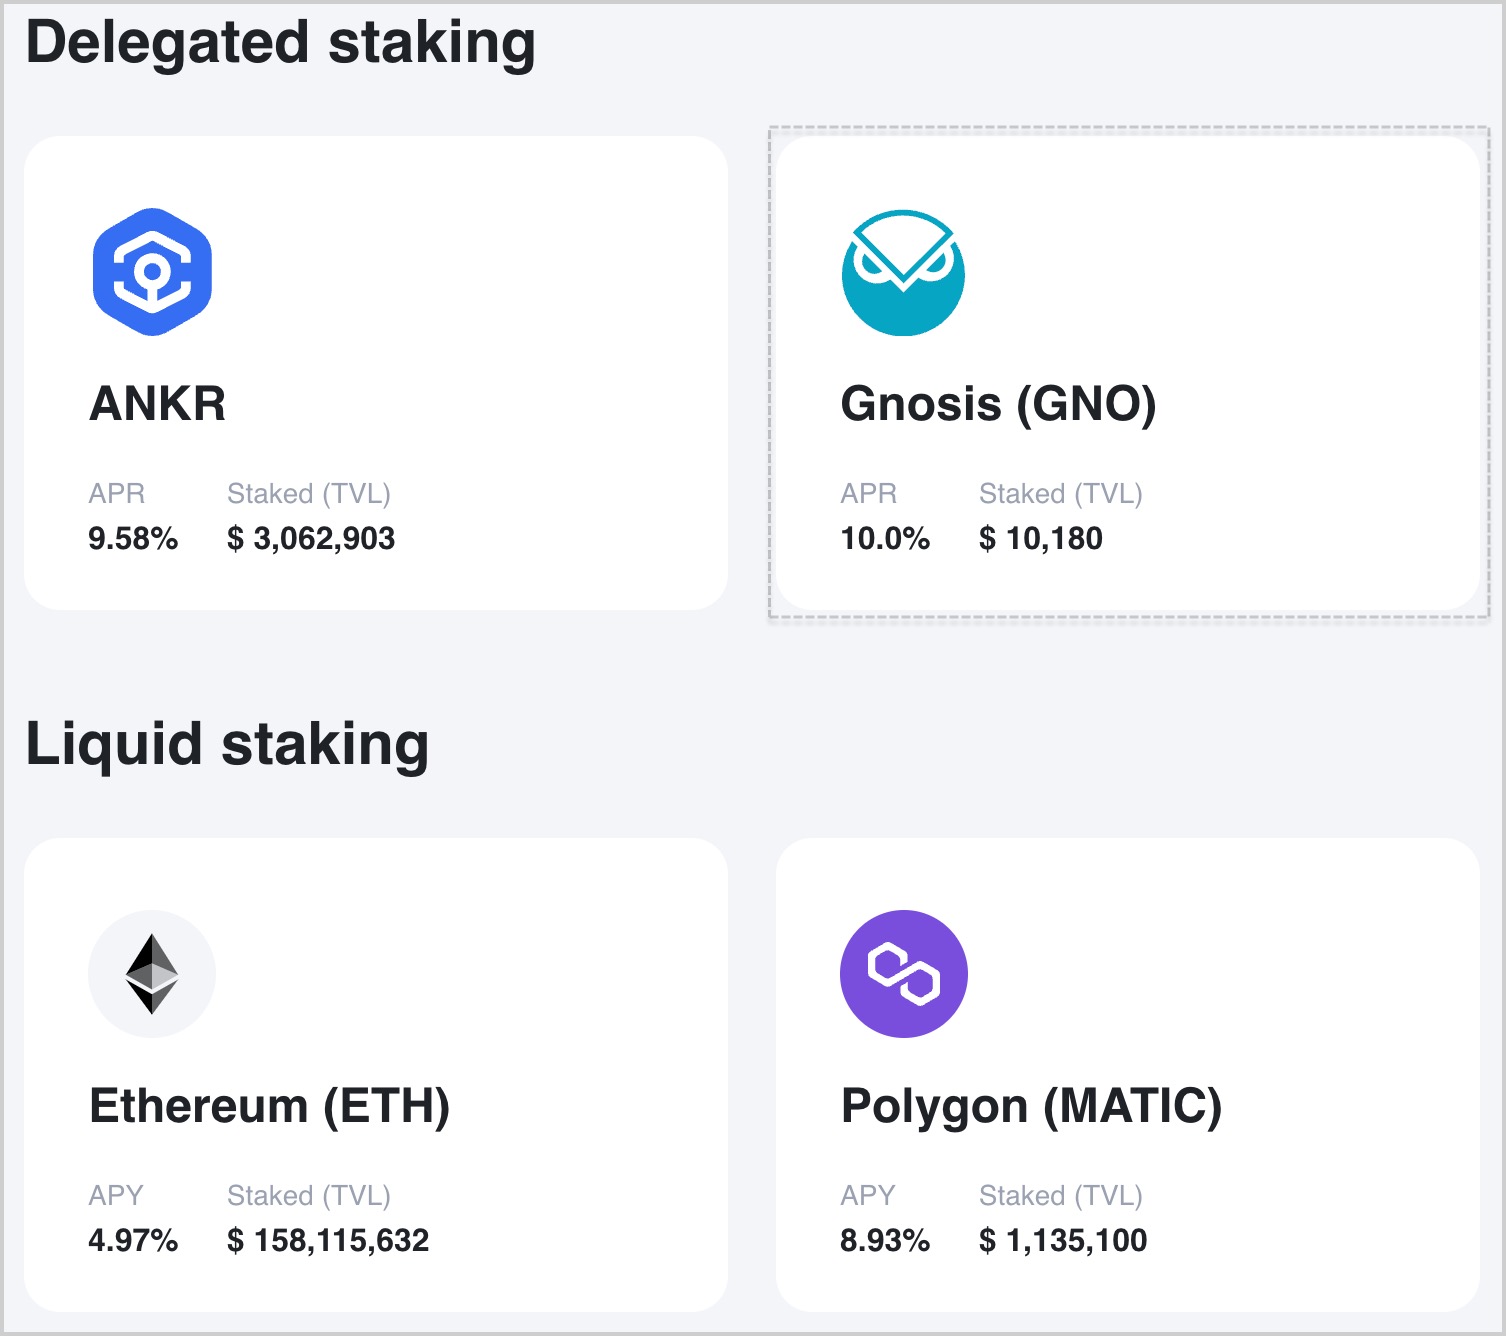
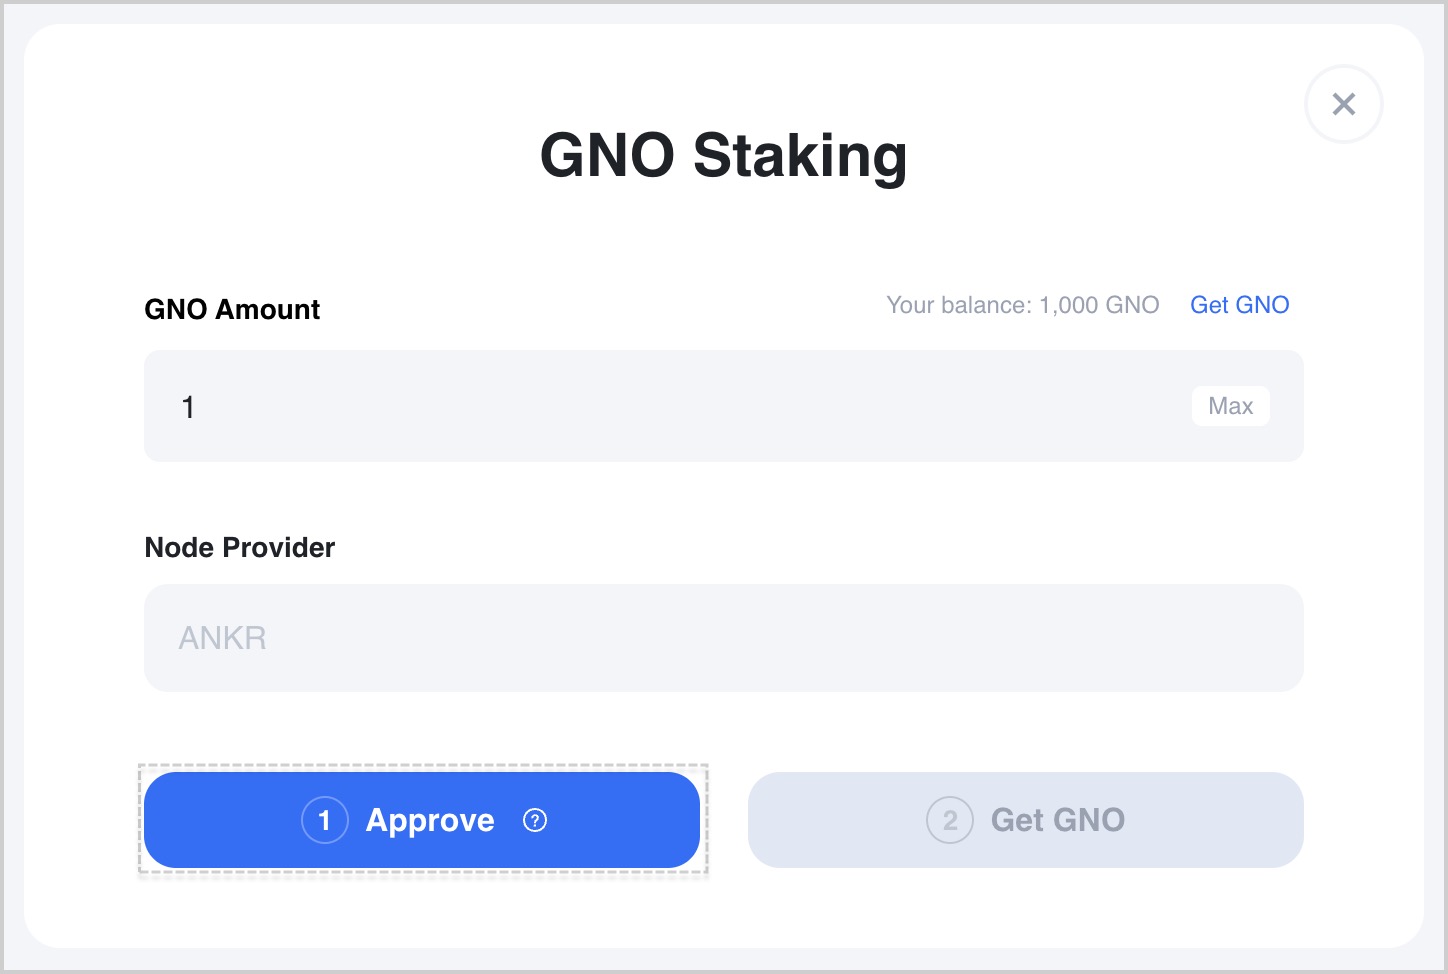
- Choose a Node Provider (currently only Ankr; more providers in future releases).
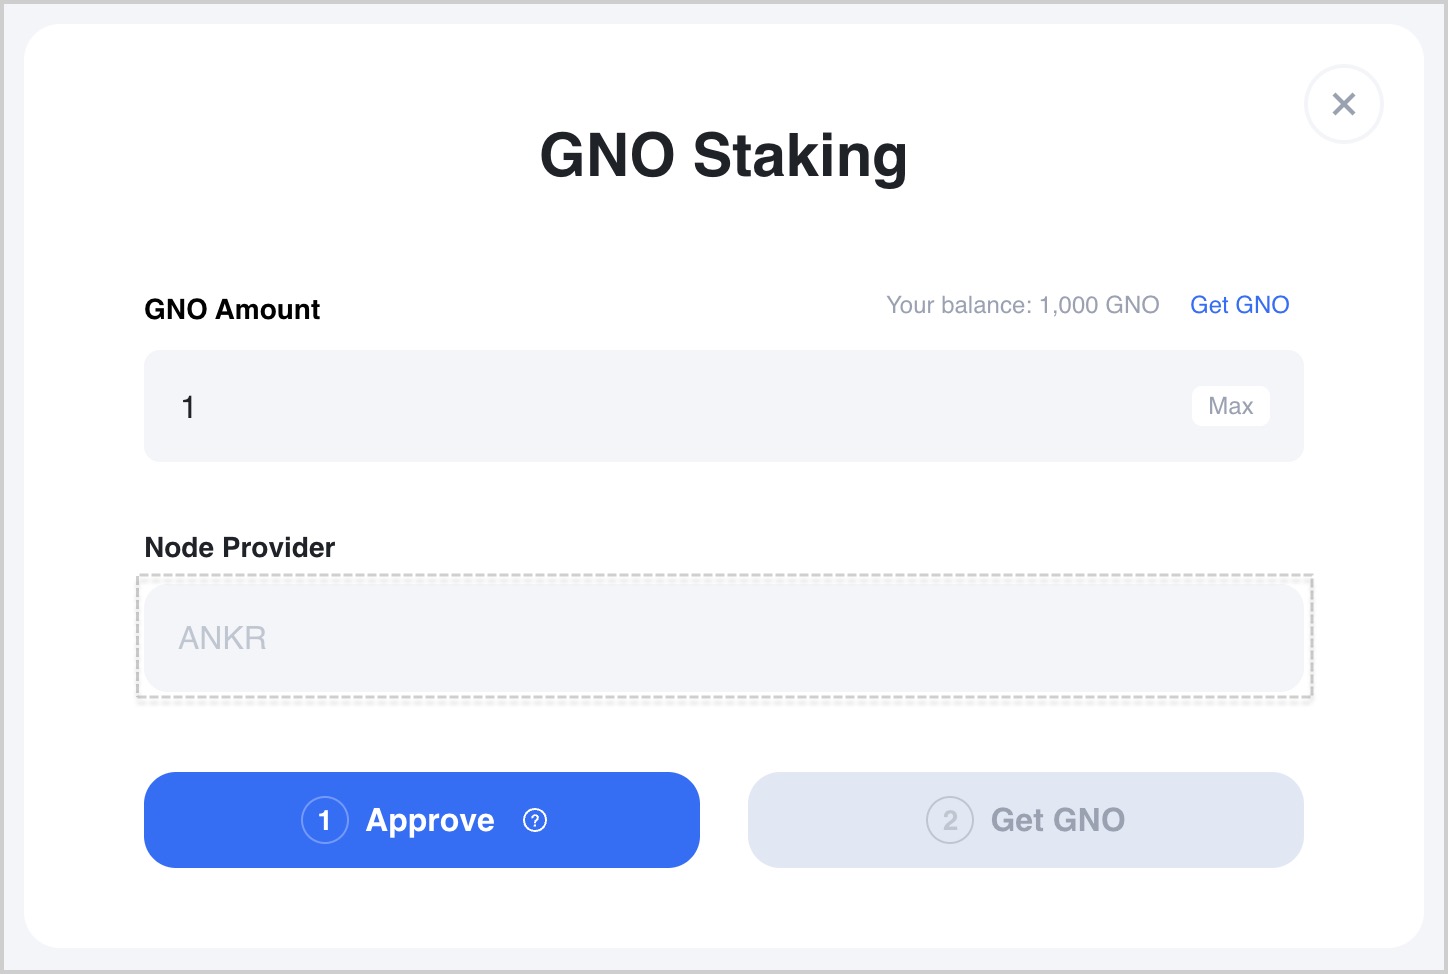
- Enter the desired amount to stake and click Approve to allow Ankr Staking smart contracts to stake for you.
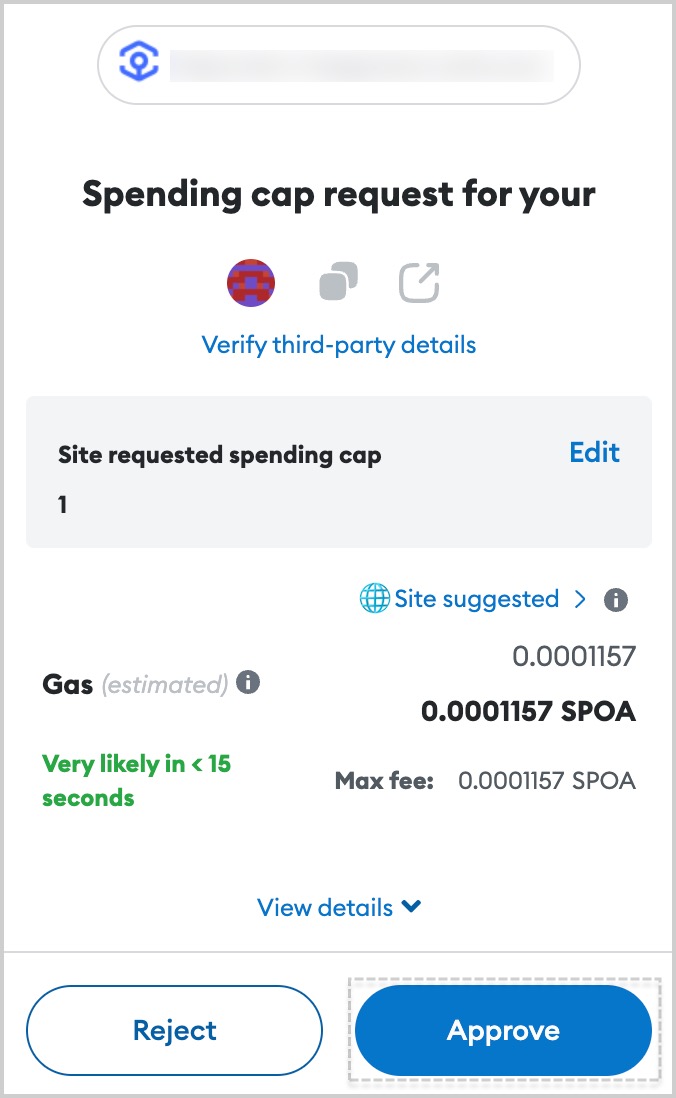
- Set a spending cap in MetaMask.
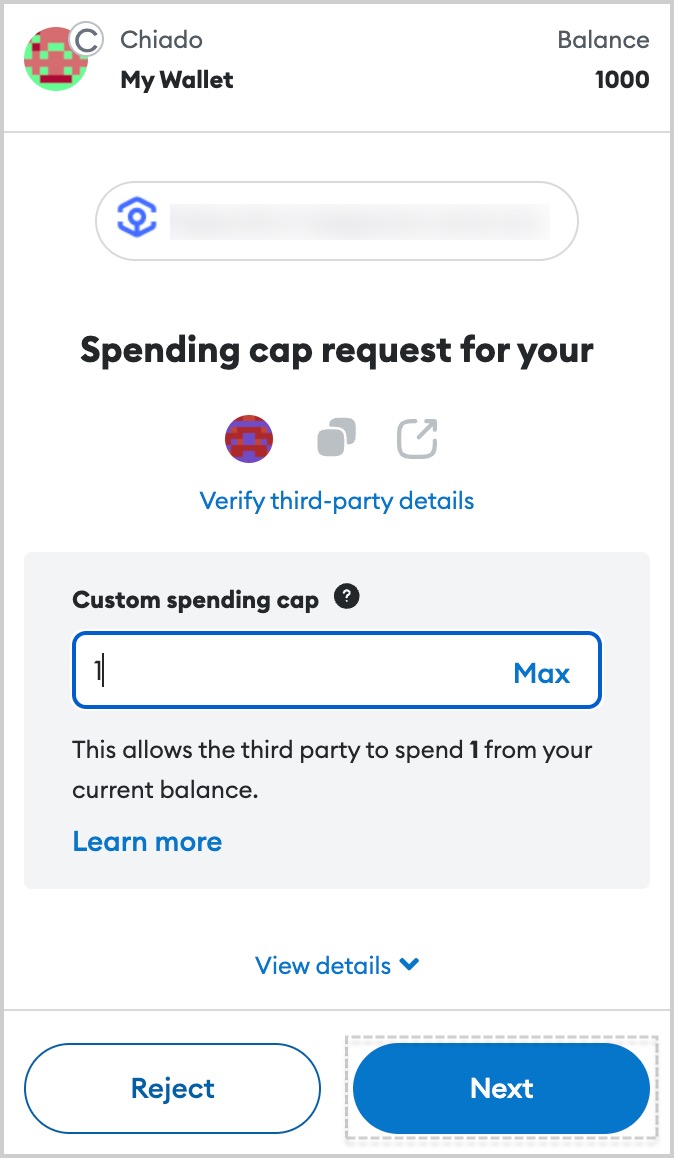
- Confirm your approval in MetaMask.
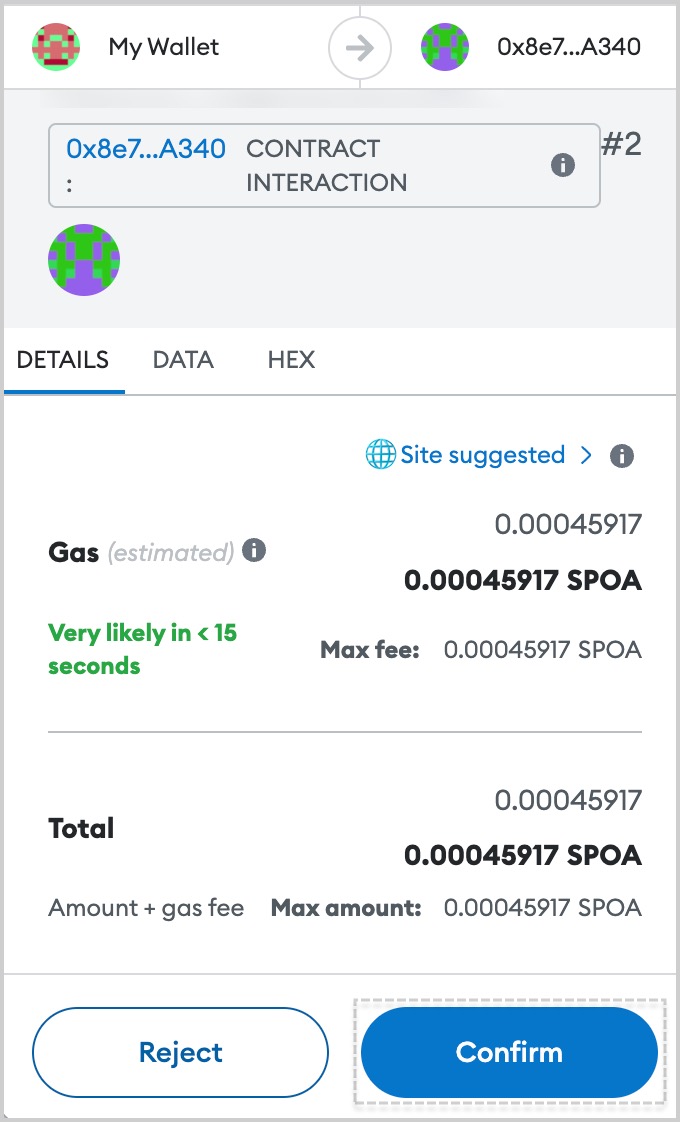
- Click Stake to send your delegated stake to the chosen Node Provider..
- Confirm the staking transaction in MetaMask.
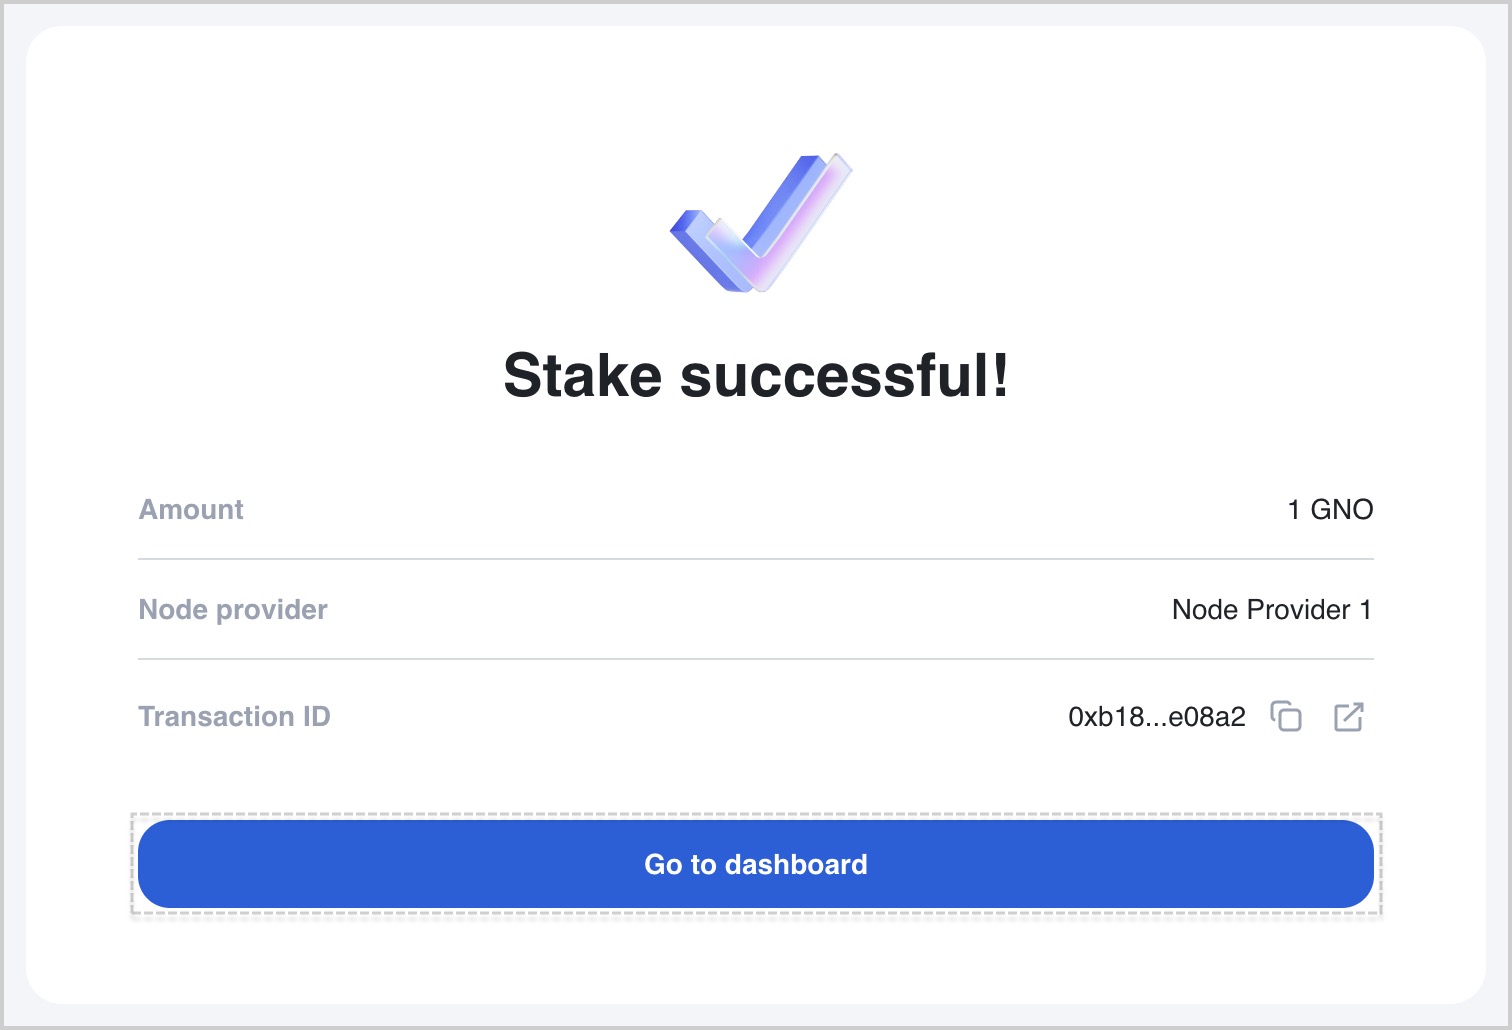
- Click Go to dashboard to see the added token. You may need to wait a little for the transaction to finalize and Dashboard to automatically update.
As for now, there is no separate reward-claiming mechanism. You get the staking rewards when you unstake GNO.